Easy Cleanup: Using aluminum foil is highly recommended if you want to save time on post-cooking cleanup.
Texture Trade-off: If your priority is achieving maximum crispiness (especially for items like chicken wings), it is better to avoid foil since it partially restricts airflow. However, a specific folding technique can help balance both benefits.
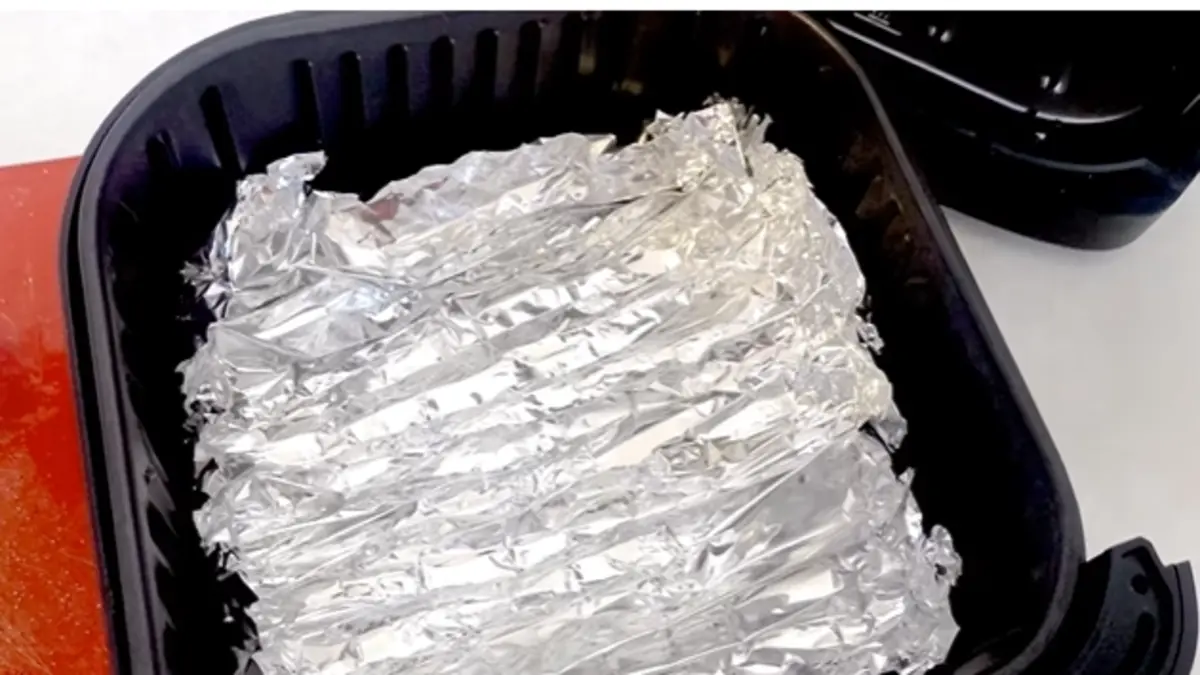
The Accordion Ridge Technique To keep food elevated and allow juices to drain away rather than pooling under your food, you can create DIY ridges in the foil:
How to Shape It: Take a sheet of aluminum foil and use your fingers to pinch and fold it repeatedly to create defined, wavy ridges. The final shape should look like an accordion or a wavy potato chip.
Placement Safety: Place the shaped foil into the air fryer basket. Ensure all corners and edges are tucked neatly inward so they do not blow up and touch the air fryer’s heating elements.
Cooking Demonstration: Air Fryer Chicken Wings
Preparation: Season the chicken wings on both sides with salt, garlic powder, and ground black pepper.
Anti-Stick Step: Lightly spray the foil with cooking oil before placing the wings down to prevent sticking.
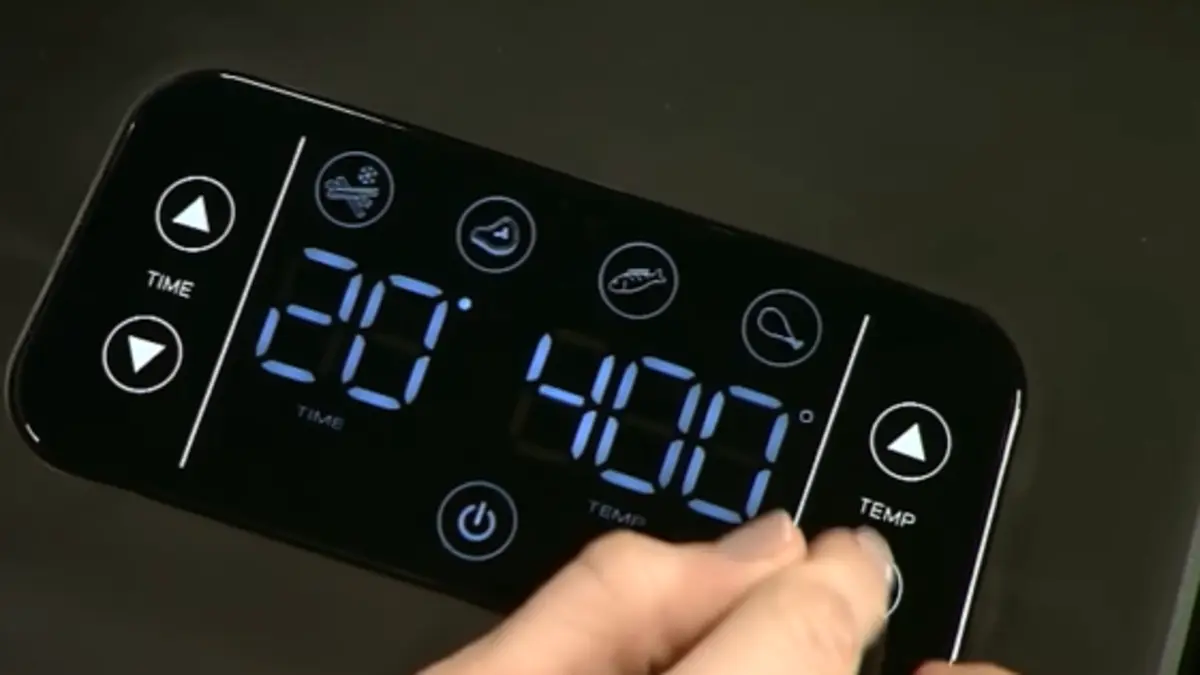
Cooking Settings: Arrange the wings on top of the foil ridges and cook at 400°F (approx. 200°C) for a total of 24 minutes.
The Halfway Flip: Pull out the basket at the 12-minute mark to flip the chicken wings over for even cooking.
Results & Cleanup
Thanks to the accordion ridges, the chicken juices pool safely at the bottom of the foil channels while keeping the wings slightly elevated.
Once done, the chicken wings lift right off, and cleaning requires simply folding up the dirty foil sheet and throwing it away.
For a complete beginner guide, read:Air Fryer Guide for Beginners