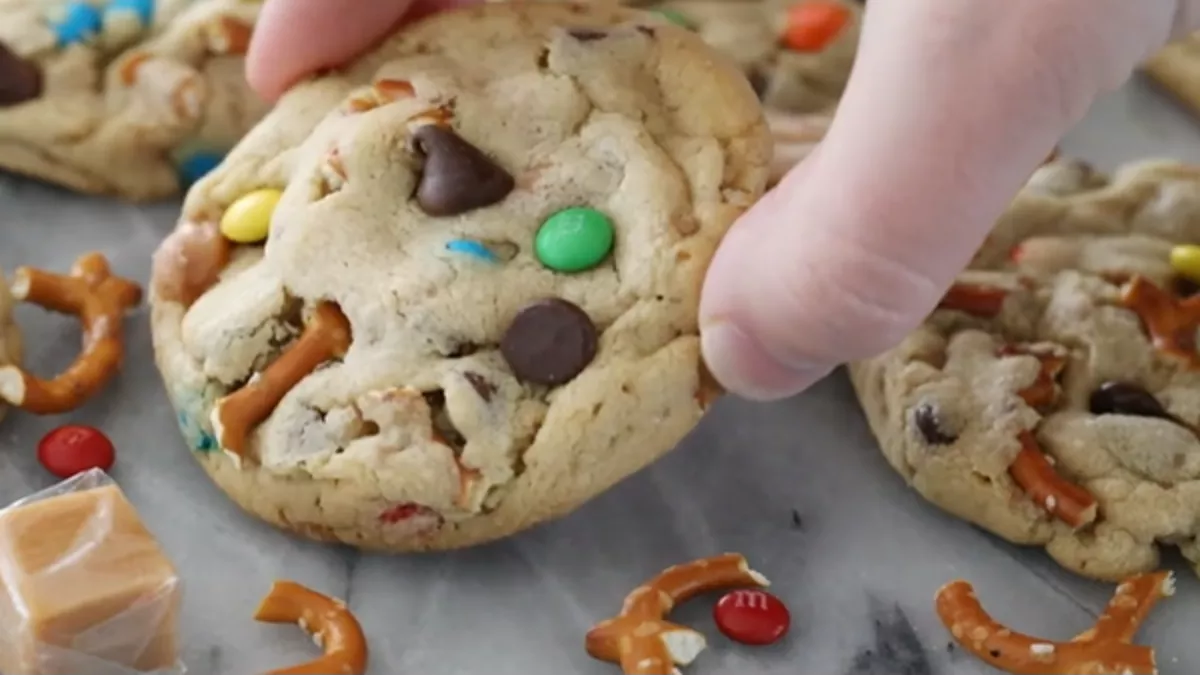
Kitchen Sink Cookies are the ultimate playground for bakers. The concept is simple: take a rich, buttery cookie dough and add “everything but the kitchen sink.” However, baking a truly exceptional cookie one that balances sweet, salty, chewy, and crunchy elements without turning into a greasy puddle requires precise food science and technique.
Whether you are looking to replicate the famous Panera Bread version or create a signature bakery style treat, this guide covers the definitive 2026 techniques for cookie perfection.
The Science of the Perfect Cookie Base
Before adding your mix-ins, you need a structurally sound dough. Kitchen sink cookies carry a heavy load of extra ingredients, meaning the base must be robust enough to hold them while maintaining a soft, chewy center and crisp edges.
1. Browned Butter (The Flavor Amplifier)
Instead of simply softening your butter, browning it evaporates the water content and toasts the milk solids. This introduces a nutty, caramel-like undertone that perfectly complements salty mix-ins like pretzels and potato chips. To master this foundational technique, you can follow the precise visual steps detailed in the Serious Eats Guide to Browning Butter.
2. The Sugar Ratio
Using a higher ratio of dark brown sugar to granulated white sugar introduces molasses into the dough. Molasses is hygroscopic (it attracts and holds moisture), which ensures a dense, fudgy, and ultra-chewy texture.
3. Structural Support
Because mix-ins like potato chips can release oils or absorb moisture, adding a tablespoon of cornstarch to your flour mixture helps bind the liquid, keeping the cookies thick and preventing excessive spreading. For a deeper understanding of how different ingredients dictate your cookie’s final texture, read the comprehensive King Arthur Baking Cookie Chemistry Guide.
Ingredients & Measurements
For the best results, use a digital kitchen scale to measure your ingredients in grams.
- Unsalted butter: 225 grams (2 sticks)
- Dark brown sugar: 200 grams (packed)
- Granulated white sugar: 100 grams
- Large eggs: 2 (must be room temperature to avoid curdling the fat)
- Pure vanilla extract: 2 teaspoons
- All-purpose flour: 320 grams
- Cornstarch: 1 tablespoon
- Baking soda: 1 teaspoon
- Fine sea salt: 1 teaspoon
- The “Kitchen Sink” Mix-ins: 2.5 to 3 cups total (see combinations below)
Detailed Step-by-Step Instructions
Step 1: Brown the Butter
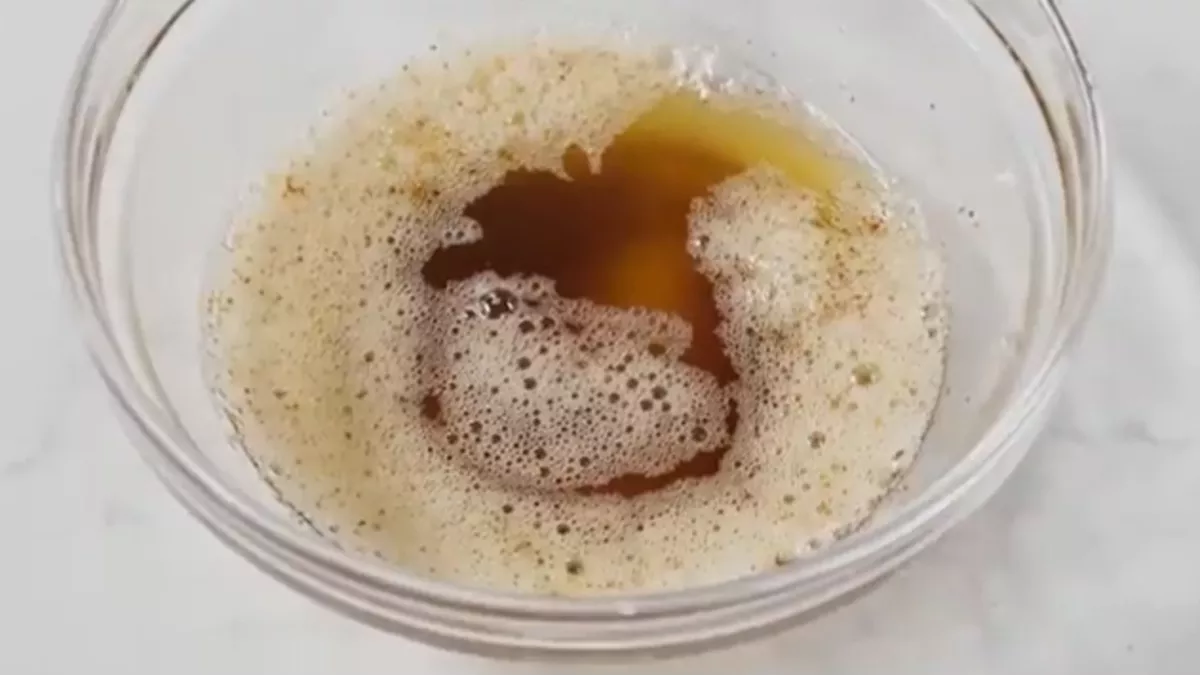
Melt the butter in a heavy-bottomed saucepan over medium heat. Swirl the pan constantly. The butter will melt, foam, and then begin to crackle. After a few minutes, the crackling will subside, and amber-brown specks will form at the bottom of the pan. The aroma will be intensely nutty. Immediately pour the browned butter—including all the toasted brown bits—into a heatproof bowl and let it cool to room temperature (it must be cool to the touch but still liquid before mixing).
Step 2: Combine Wet Ingredients
Whisk the cooled brown butter, dark brown sugar, and granulated sugar together in a large bowl until no large sugar lumps remain. Add the eggs one at a time, whisking vigorously for 30 seconds after each addition to build an emulsion. Stir in the vanilla extract. Beat the mixture for an additional minute until it becomes slightly pale, glossy, and thickened.
Step 3: Sift and Whisk Dry Ingredients
In a separate medium bowl, thoroughly whisk together the all-purpose flour, cornstarch, baking soda, and fine sea salt. Sifting is recommended to eliminate cornstarch pockets.

Step 4: Merge and Fold
Pour the dry ingredient mixture into the wet ingredients. Using a sturdy rubber spatula, gently fold the ingredients together just until a few faint streaks of flour remain. Do not overmix, as over-handling develops excess gluten, transforming a tender, chewy cookie into a tough, cakey one.
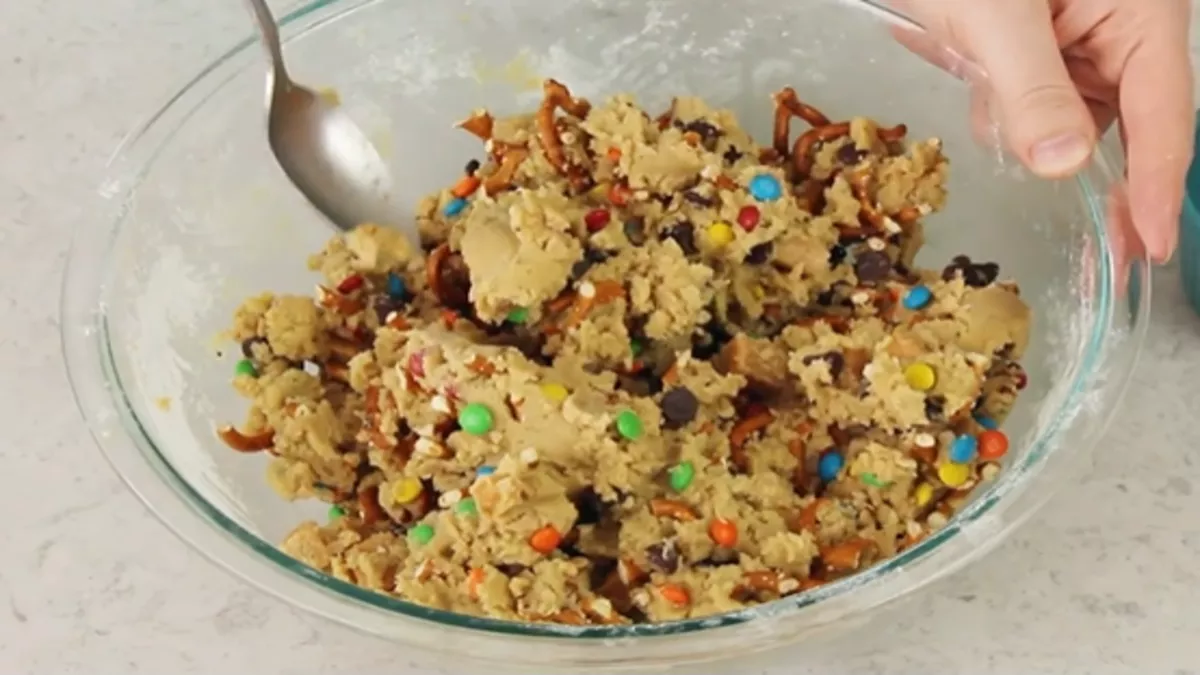
Step 5: Incorporate the Mix-ins
Gently fold in your chosen 2.5 to 3 cups of mix-ins until they are evenly distributed throughout the dough. For an excellent blueprint on balancing these ingredients to mimic commercial bakery styles, check out the Copykat Recipes Panera Kitchen Sink Cookie Copycat.
Step 6: The Mandatory Chill (The 2026 Industry Standard)
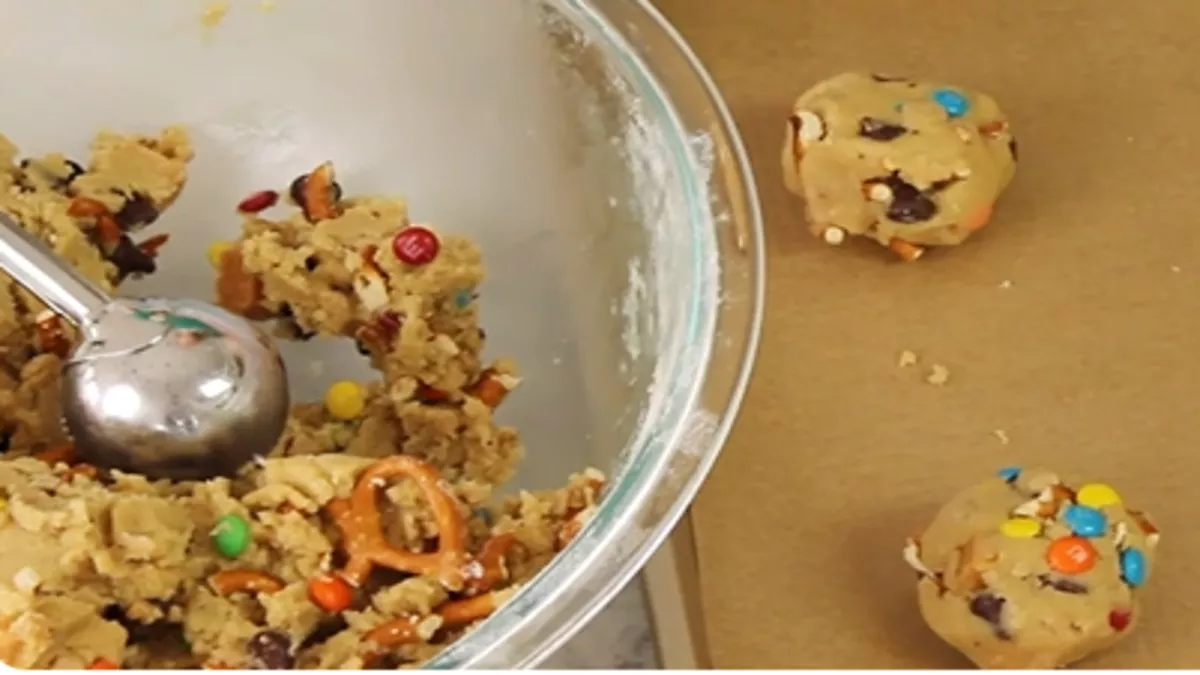
Using a large ice cream scoop, portion the dough into large balls (approximately 85 grams each for authentic bakery style scale) and place them on a tray. Cover tightly with plastic wrap and refrigerate for a minimum of 2 to 4 hours (24 to 48 hours is ideal). Chilling allows the flour to fully hydrate, solidifies the fats so the cookies don’t puddle, and concentrates the complex caramel sugars.
Step 7: Bake to Perfection
Preheat your oven to 180°C (350°F) and verify the temperature with an oven thermometer. Line a heavy baking sheet with professional grade parchment paper. Space the cold dough balls at least 3 inches apart to allow for spreading. Bake for 11–13 minutes. The edges must be golden brown and set, but the center should still look pale, slightly puffed, and underbaked.
Step 8: The “Scoot” and Final Touch
The second the cookies come out of the oven, place a round cookie cutter (larger than the cookie) or an upside down bowl over each cookie and gently swirl it in a circular motion against the baking sheet. This “scooting” technique forces the irregular edges into a flawless, bakery perfect circle. Immediately press a few reserved whole chocolate chunks, pretzel twists, or chip ridges into the warm tops, and finish with a generous sprinkle of flaky sea salt. Let them rest on the hot sheet for 10 minutes before transferring to a wire cooling rack.
The 2026 Trend: Curated Mix-in Profiles
In 2026, the trend has shifted away from randomly throwing stale snacks into dough, moving instead toward curated flavor profiles that balance texture, sweetness, acidity, and salt. Here are three professional combinations:
- The Sweet & Salty Classic: Semi-sweet chocolate chunks, crushed salted pretzels, and ridged potato chips (ridged chips hold their crunch better during baking).
- The Midnight Café: 70% Dark chocolate chips, toasted pecans, toffee bits, and a pinch of espresso powder in the dough.
- The Fruit & Nut Orchard: White chocolate chunks, dried tart cherries, toasted macadamia nuts, and a hint of orange zest.
Professional Chef Advice & Master Tips
As a seasoned chef, achieving bakery-level distinction relies on mastering these subtle details:
- Dehydrate Your Crunchy Add-ins: If your pretzels or potato chips feel slightly stale, spread them on a baking sheet and pop them into a 150°C (300°F) oven for 4–5 minutes before folding them into the dough. This flashes off ambient moisture and locks in a shattering crunch that survives the baking process.
- Chop by Hand: Avoid using pre-packaged, perfectly uniform chocolate chips. Buy high-quality chocolate bars and chop them by hand. The varying sizes create gorgeous, irregular puddles of melted chocolate throughout the cookie structure, while the tiny chocolate “dust” flecks beautifully marble the dough.
- The Temperature Rule: Never skip the room-temperature egg rule. Cold eggs will instantly shock and solidify the cooled brown butter, causing the emulsion to break and resulting in uneven fat distribution.
Storage & Preservation Protocol
Because these cookies contain delicate ingredients like potato chips, preserving their distinct textures requires specific care:
- Room Temperature: Store cooled cookies in a strictly airtight glass or plastic container for up to 4 days. To keep them ultra soft and chewy without making the chips soggy, drop a single slice of plain white sandwich bread into the container. The cookies will naturally draw the moisture from the bread.
- Freezing the Dough (Highly Recommended): Flash freeze individual raw, scooped dough balls on a baking sheet for 1 hour, then transfer them to a heavy-duty freezer bag for up to 3 months.
- Freezing Baked Cookies: Wrap individual cooled cookies tightly in plastic wrap, then place them inside an airtight container or freezer bag for up to 2 months.
Precision Reheating & Serving
A kitchen sink cookie is experienced at its absolute best when served warm, mimicking the freshly baked gooeyness of a high end bakery.
- The Oven Method (Best for Texture): Preheat your oven or toaster oven to 150°C (300°F). Place the cookies on a parchment-lined tray and heat for 4 to 5 minutes. This revives the crispiness of the potato chips and pretzels while melting the chocolate pockets.
- The Microwave Method (Fastest for Softness): Place a single cookie on a microwave-safe plate. Microwave on medium power (70%) for 10 to 12 seconds. Do not overheat, or the sugar will burn and the cookie will turn rock-hard as it cools.
- Baking From Frozen: If baking raw frozen dough balls, do not thaw them. Simply drop the oven temperature to 170°C (335°F) and extend the baking time by 2 to 3 minutes.
Elegant Presentation Ideas
- The Classic Bakery Display: Serve warm on a rustic wooden board alongside a glass of ice-cold, full-fat milk or a hot oat milk latte. The bitterness of coffee cuts through the rich sweetness of the cookies beautifully.
- The Cast-Iron Skillet Sundae: Press the unbaked dough into an individual mini cast-iron skillet and bake. Serve hot right out of the oven topped with a massive scoop of premium Madagascar vanilla bean ice cream, a drizzle of warm salted caramel sauce, and an extra crush of salty potato chips for a show-stopping dessert.
Conclusion
The beauty of the Kitchen Sink Cookie lies in its chaotic harmony. By anchoring a wild variety of sweet, salty, crunchy, and chewy mix-ins to a scientifically sound, brown-butter cookie base, you elevate an everyday kitchen scrap treat into a sophisticated, bakery-defining masterpiece. Master the mandatory chill, respect the sugar ratios, and curate your toppings to create a signature cookie that keeps people coming back to your kitchen time and time again. Happy baking!